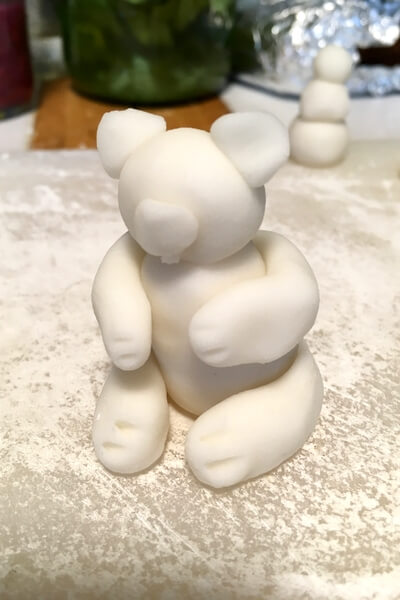
The Best Homemade Air Dry Clay Recipe
1 cup corn starch
1 1/2 cups water
In a medium pot combine the baking soda and corn starch and stir them to mix.
Add in the water and stir until the mixture is thoroughly wet. No more dry spots!
Turn on the burner to medium-low heat and cook and stir until the mixture clings together in a ball.
It might take 5-10 minutes of cooking and stirring for your homemade clay to fully come together.
Turn off the heat and remove the pot from the burner. At this point your homemade air dry clay may still appear quite sticky. I like to keep stirring and kneading with the spoon in the warm pot to reduce the water even more.
Then turn out your air dry clay onto a cutting board that has been dusted with corn starch.
Knead the clay until it is smooth and cooled off. You can add additional corn starch as needed to reduce sticking.
Note: This air dry clay will become less sticky as it cools completely.
How to Use Homemade Air Dry Clay
You can use this homemade modeling clay to make all kinds of things!
Once you have kneaded it until it’s smooth you can use it like playdough and just model, cut, and play and then ball it back up and store it.
Or you can use it to make more permanent things such as:
- Homemade Christmas ornaments
- Animal figures
- Pinch pots
- Coil pots
- Little bricks to build with
- Anything you can imagine!
Just like with other clays, it’s important to use a little water to help pieces stick together as they dry.
Otherwise you may find yourself gluing pieces together once they are dry.
When you are done, just sit your creations out at room temperature until they dry completely.
Looking for more homemade clay options? Check out this Cornstarch and Salt Clay!

How to Store Your Air Dry Clay
Since this is air dry clay, it will dry if it’s left out.
To keep your homemade clay workable store it in an air tight container when it’s not in use.
We went to make a batch when we have a project to make such as a batch of homemade ornaments or a modeling project for school, so I am not sure how long the clay will last, but I assume at least a 2-3 weeks if not longer.
Tools
- medium size pot
- stirring spoon
Instructions
- In a medium pot combine the baking soda and corn starch and stir them to mix.
- Add in the water and stir until the mixture is thoroughly wet. No more dry spots!
- Turn on the burner to medium-low heat and cook and stir until the mixture clings together in a ball. It might take 5-10 minutes of cooking and stirring for your homemade clay to fully come together.
- Turn out your air dry clay onto a cutting board that has been dusted with corn starch.
- Knead the clay until it is smooth and cooled off. You can add additional corn starch as needed to reduce sticking.


